
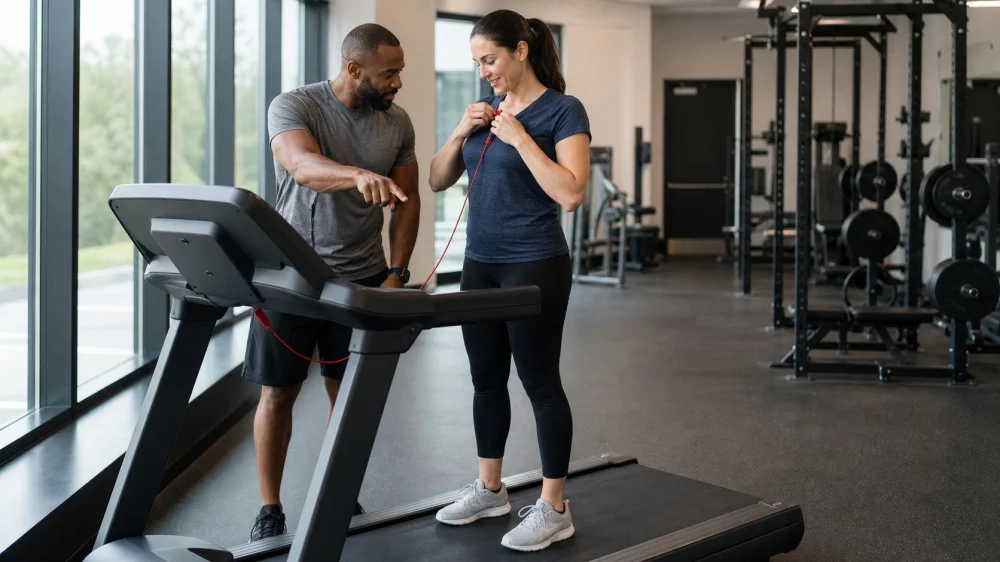
Treadmill Safety Key: Clip In Before the Belt Moves
On this page
Quick answer
Before starting a treadmill, place it on a clear stable surface, learn the stop controls, attach the safety key clip securely to clothing, straddle the stationary belt, and begin at the lowest practical speed. Face forward, use handrails only for balance during setup, and keep children, pets, cords, and loose items away. Stop immediately for chest pain, faintness, severe shortness of breath, loss of control, or equipment faults.
Mountainside Fitness Chandler Ocotillo / mountain fitness chandler
ChandlerMaricopa CountyArizona
1920 S Alma School Rd, Chandler, AZ 85248, USA
Why it matters
A moving treadmill can accelerate a small balance error into a fall. The safety key is designed to stop the belt if the user moves too far from the console, but it works only when attached and cannot replace appropriate speed, clearance, footwear, and supervision.
This United States guide is general fitness safety. Equipment controls, user limits, medical conditions, medications, disability access, and facility rules differ. Follow the machine manual and clinician guidance.
Planet Fitness / planet fitness glendale opening date
GlendaleMaricopa CountyArizona
5121 W Glendale Ave, Glendale, AZ 85301, USA
Practical checklist
- Inspect belt, deck, cord, plug, key, rails, and surrounding clearance.
- Wear tied footwear and secure loose clothing, towels, headphones, and hair.
- Know stop, pause, speed, incline, and emergency controls before stepping on.
- Clip the safety key to clothing where it will not detach casually.
- Start with feet on the side rails and belt at minimum speed.
- Increase one control at a time while posture and gait remain stable.
- Cool down, stop fully, and step off only after the belt stops.
Step-by-step plan
- Read posted instructions and ask staff for orientation on an unfamiliar model.
- Set up without standing on a moving belt and confirm the clip pulls the key free.
- Begin slowly, look forward, and avoid phone use or turning around.
- Choose a pace and incline you can control without holding your body weight on the rails.
- Keep adequate space behind the unit and never allow a second person on the belt.
- Use the stop control at the first sign of instability or unusual noise, smell, heat, or belt movement.
- Report faults, leave the unit out of service, and document any fall or injury.
Track machine identifier, duration, speed and incline range, footwear, symptoms, medication or health changes, fault details, staff report, and any medical advice.
Limits and warning signs
The clip may not prevent every injury and should not be tied to the machine or held in the hand. Jumping onto a moving belt, stepping off the side at speed, or relying on rails can increase risk.
Call emergency services for chest pain, collapse, severe breathing difficulty, stroke signs, major head injury, uncontrolled bleeding, or inability to bear weight. Seek medical advice for persistent symptoms after a fall.
Frequently asked questions
Where should I attach the clip?
Use the manual's location guidance and attach it securely to clothing, not a loose towel or hand.
Can I start while standing on the belt?
Use the side rails until the belt begins at a controlled low speed, then step on according to instructions.
Should I hold the rails?
Use them briefly for balance during setup; select a workload that allows normal controlled movement.
What if the belt slips?
Stop, step off only when fully stationary, and report the machine rather than testing it again.
Sources and evidence
The guide reflects common treadmill manufacturer and gym-safety practice: inspect first, learn controls, use the safety key, start slow from side rails, preserve clearance, stop for instability, and remove faulty equipment from use.
Conclusion and next steps
On the next session, inspect the treadmill, clip the key before motion, start at minimum speed, and verify a clear exit zone. Stop at the first loss of control or equipment fault.
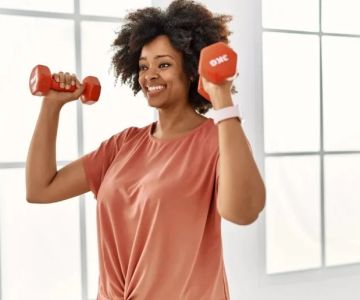
 The EPOC Experience Greenville4.0 (65 reviews)
 TrueForm Studio5.0 (17 reviews)
 Voltsfit5.0 (6 reviews)
 Athletic Performance Development5.0 (1 reviews)
 24 Hour Fitness3.0 (606 reviews)
 Torrance Training Lab5.0 (107 reviews)
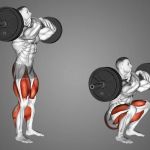 Why Everyone Should Try Strength Training | Benefits & Insights
 How to Use Smartwatch Recovery Insights to Decide When to Push and When to Pull Back
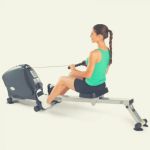 How to Use a Rower for Strength and Cardio in Short Workouts
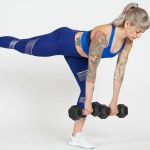 The Best Strength Progressions to Increase Single-Leg Strength and Reduce Asymmetries This Autumn
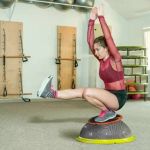 How to Improve Balance and Coordination with Strength Training
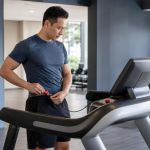 Treadmill Safety Clip: Start and Stop Checks