
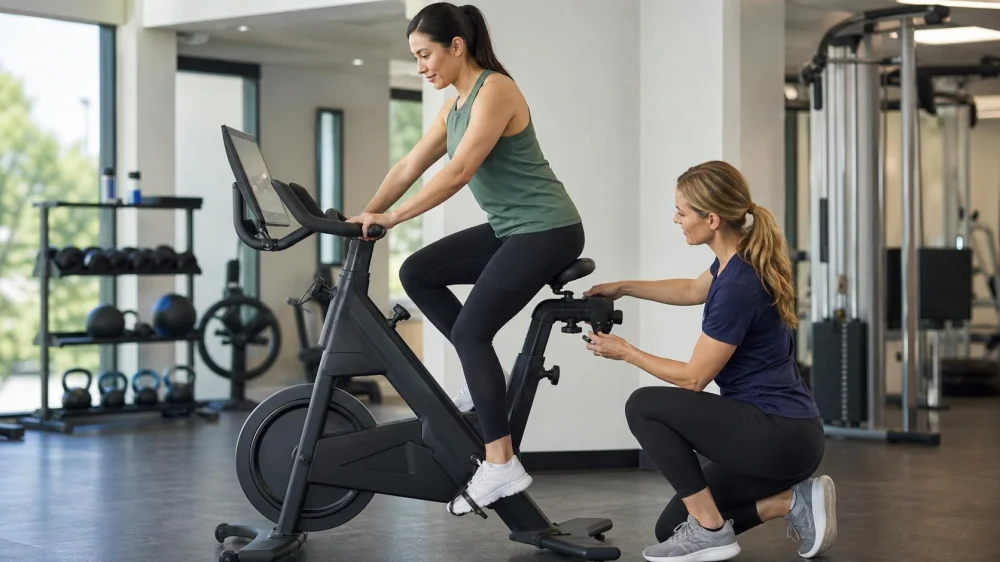
Stationary Bike Setup: Fit the Seat Before Adding Resistance
On this page
Quick answer
Set up a stationary bike while it is stopped. Adjust seat height so the knee remains slightly bent at the bottom of the pedal stroke, set fore-aft position and handlebars for a stable comfortable reach, secure feet in the pedals, and learn the resistance and stop controls. Begin with easy resistance and short duration. Stop for sharp pain, numbness, dizziness, chest pain, severe breathlessness, or loss of control.

Hydrogen Fitness Greenwich / hydrogen fitness greenwich
Port ChesterWestchester CountyNew York
11 Riverdale Ave, Port Chester, NY 10573, USA
Why it matters
A poor bike fit can concentrate stress at the knees, hips, back, neck, hands, or feet. Correct setup supports control and comfort, while workload and fit still need individual adjustment.
This United States guide is general exercise information. Upright, recumbent, studio, and air bikes differ, as do bodies, injuries, pregnancy, medications, and rehabilitation needs. Use manufacturer, trainer, or clinician guidance.

Central Boxing Gym / central boxing academy
1755 W Van Buren St, Phoenix, AZ 85007, USA
Practical checklist
- Identify seat, fore-aft, handlebar, pedal, resistance, and emergency controls.
- Make adjustments only while stopped and lock every pin or lever.
- Check a slight knee bend at the lowest pedal position without rocking hips.
- Choose a reach that avoids locked elbows, rounded strain, or excessive wrist pressure.
- Secure footwear and straps without cutting circulation.
- Start easy and assess comfort on both sides.
- Clean contact points and reset the bike safely after use.
Step-by-step plan
- Ask staff to explain the specific bike and adjustment limits.
- Set approximate seat height beside the bike, mount using stable supports, then fine-tune while stopped.
- Adjust fore-aft position so pedaling feels balanced rather than forced forward or backward.
- Set handlebars high enough for control and any mobility or comfort needs.
- Pedal easily for several minutes and observe hip rocking, knee tracking, foot pressure, and hand tension.
- Change only one setting at a time and note the final positions.
- Add resistance gradually while cadence, posture, and breathing stay controlled.
Save bike model, seat and handlebar marks, shoe and pedal setup, duration, cadence or effort, resistance range, symptoms, and trainer or clinician recommendations.
Limits and warning signs
The knee-over-pedal rule and hip-height shortcut are starting points, not universal prescriptions. Pain can reflect workload, fit, technique, injury, or medical issues. Do not force a joint through a restricted range.
Stop and seek emergency help for chest pain, fainting, stroke signs, or severe breathing difficulty. Seek qualified evaluation for persistent joint pain, numbness, weakness, swelling, or symptoms after injury.
Frequently asked questions
How high should the seat be?
Use a slight knee bend at the bottom as a starting point and adjust for stable hips and comfort.
Why do my hands go numb?
Reach, handlebar height, grip pressure, posture, and medical factors may contribute. Reduce load and seek advice if it persists.
Can I change the seat while pedaling?
No. Stop fully and lock the adjustment before restarting.
Should resistance be high for a good workout?
Not necessarily. Match it to your goal and ability while maintaining control and gradual progression.
Sources and evidence
The guide reflects common indoor-cycling setup principles: adjust while stopped, preserve slight knee bend and stable hips, use a comfortable reach, secure adjustments, begin easily, and stop for pain or medical warning signs.
Conclusion and next steps
Record a comfortable seat and handlebar setup on the specific bike, then begin with easy pedaling. Change one variable at a time and stop rather than pushing through sharp pain or numbness.
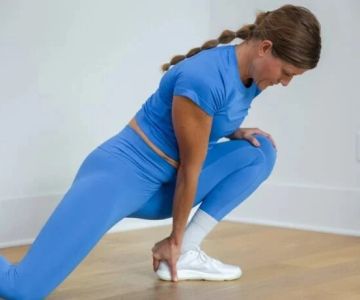

 The EPOC Experience Greenville4.0 (65 reviews)
 TrueForm Studio5.0 (17 reviews)
 Voltsfit5.0 (6 reviews)
 Athletic Performance Development5.0 (1 reviews)
 24 Hour Fitness3.0 (606 reviews)
 Torrance Training Lab5.0 (107 reviews)
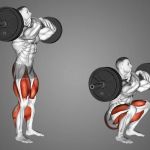 Why Everyone Should Try Strength Training | Benefits & Insights
 How to Use Smartwatch Recovery Insights to Decide When to Push and When to Pull Back
 How to Use a Rower for Strength and Cardio in Short Workouts
 The Best Strength Progressions to Increase Single-Leg Strength and Reduce Asymmetries This Autumn
 How to Improve Balance and Coordination with Strength Training
 Treadmill Safety Clip: Start and Stop Checks