
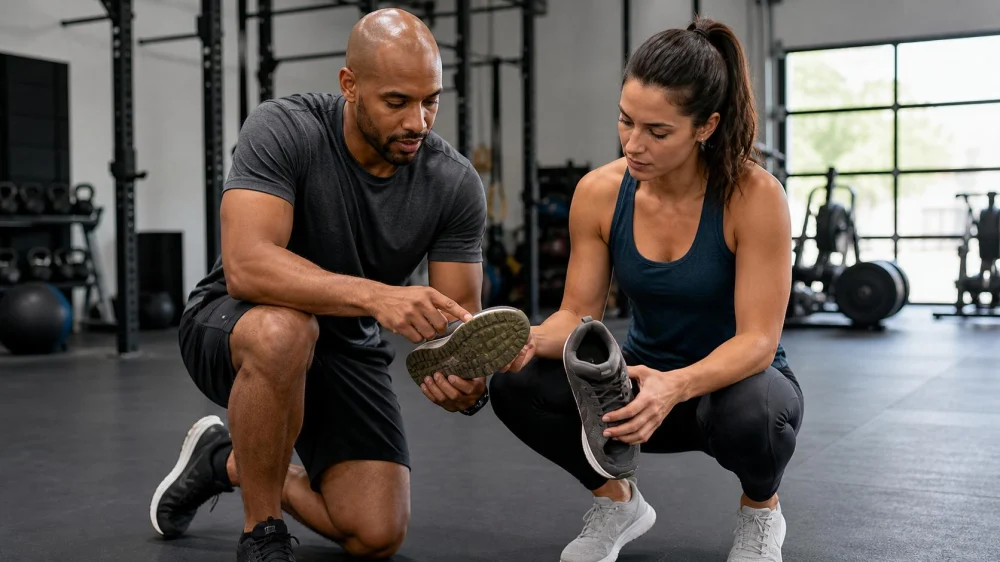
Workout Shoe Check: Fit, Traction, Laces, and Replacement Clues
Workout shoes are part of the exercise setup, not a fashion afterthought. A shoe that is loose, worn smooth, wrong for the surface, or painful can change how you move and raise the chance of a slip or distraction. The best choice matches the activity, foot, facility rules, and current condition rather than a universal brand or mileage number.
Match the Activity
Running, court sports, weight training, dance, cycling, and hiking create different movement and traction demands. Ask a qualified coach, clinician, or footwear professional when the choice is unclear. Check gym and sport rules. A thick soft running shoe may feel comfortable but unstable for some heavy lifts, while a rigid training shoe may be unsuitable for longer running.

Real Pilates - Upper East Side / pilates classes upper east side
New YorkNew York CountyNew York
1226 Lexington Ave, New York, NY 10028, USA
Check Fit Standing
Try shoes with the socks, inserts, or orthoses you will actually wear, preferably when feet are at their usual exercise size. Stand, walk, and move your toes. The shoe should not pinch, rub, or allow the foot to slide excessively. Feet may differ, so fit the larger or more demanding side and do not assume a familiar labeled size remains identical.

FLX FLO Pilates - Red Bank / pilates plus red bank
Red BankMonmouth CountyNew Jersey
170 Monmouth St, Red Bank, NJ 07701, USA
Secure the Heel and Midfoot
The heel should feel controlled without painful pressure at the Achilles area. The midfoot should be supported without numbness or constriction. Different lacing patterns can adjust hold, but they cannot make the wrong shape correct. Stop if a shoe causes tingling, colour change, pressure over a bone, or persistent rubbing during a short indoor test.
Tie and Tuck Laces
Replace frayed laces and use every required eyelet according to the shoe design. Tie a secure knot that does not cut circulation, then tuck or shorten long loops so they cannot catch equipment, pedals, or the other foot. Do not wrap laces tightly around the ankle. Recheck after warm-up because material and foot volume can change.
Inspect the Outsole
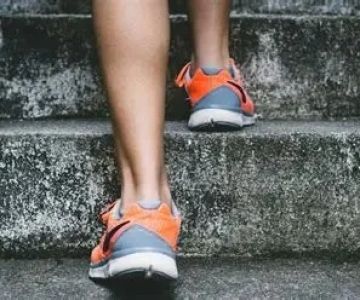
Look for smooth patches, uneven wear, separating rubber, embedded stones, contamination, or cracks. Wipe the sole using manufacturer-approved methods and let it dry. A shoe that grips dry flooring may slip when dusty or wet. Do not restore traction by cutting the sole, applying adhesive sprays, or roughening it in ways the manufacturer does not approve.
Inspect the Inside
Remove the insole only if designed to come out and check for bunching, worn holes, dampness, grit, or a hard folded edge. Feel the lining for tears that can rub skin. Let shoes dry with airflow after use; avoid intense heat that can deform foam and adhesives. Clean blood or body-fluid contamination according to facility and product guidance.
Match the Surface
Check whether the session uses rubber flooring, wood courts, turf, pavement, trails, or a platform. Cleats, spikes, outdoor dirt, and marking soles may be prohibited indoors. Change footwear between environments when required. Scan the floor for water, loose plates, bands, cords, and debris because even suitable shoes cannot compensate for a hazardous surface.
Test With Easy Movement
Begin with walking, bodyweight movement, and light sport-specific drills. Increase speed, direction change, load, or duration gradually. The U.S. Physical Activity Guidelines advise choosing appropriate gear and increasing activity gradually. A new shoe is not a reason to attempt a sudden training jump.
Respond to Symptoms
Stop and assess new sharp pain, numbness, instability, a blister hotspot, or altered gait. Severe pain, inability to bear weight, major swelling, deformity, chest symptoms, faintness, or other urgent signs need prompt medical guidance. For recurring foot or joint problems, ask a qualified healthcare professional rather than repeatedly buying shoes to self-treat an undiagnosed cause.
Use Replacement Clues
Replace based on condition, comfort, activity, and manufacturer guidance—not appearance alone or one universal mileage. Persistent compression, uneven wear, loss of traction, damaged upper, failed seams, or new movement problems are clues. Record purchase date and approximate use. Retire unsafe footwear rather than donating it as exercise gear to someone else.
Keep a brief shoe note in the workout log: model description, first-use date, primary activity, surfaces, inserts, comfort, and any recurring hotspot. Photograph the outsole when new and at intervals under similar light. A comparison can reveal asymmetrical wear that memory misses, but it does not diagnose gait or injury. Bring the shoes and log to a qualified clinician or footwear professional when pain or unusual wear persists.
A useful shoe check takes less than a workout setback. Match the activity, confirm fit under movement, secure and tuck laces, inspect inside and out, test gradually, and respond to symptoms. When footwear is damaged or cannot support the intended surface and movement, replace it before the next hard session.

 Sweatline Fitness4.0 (11 reviews)
 Love and Light Yoga and Wellness5.0 (16 reviews)
 The Bar5.0 (3 reviews)
 Snap Fitness Hollymead4.0 (110 reviews)
 Gym on 5th4.0 (7 reviews)
 New Leaf Fitness Center4.0 (23 reviews)
 Best Exercises for Strengthening Your Entire Core | Hot Fitness
 10 Common Mistakes to Avoid in Yoga: Expert Tips for a Safe Practice
 How to Safely Use Short Hill Repeats and Strength Circuits for Leg Power This Autumn
 How to Improve Recovery with Proper Nutrition and Sleep Strategies
 Beginner’s Guide to Muscle Gain for Effective Strength and Growth
 How to Train for Back-to-Back Races: Recovery, Nutrition and Smart Volume Management